- Admin and Manager can easily add new staff / members through Staff and Member Master.
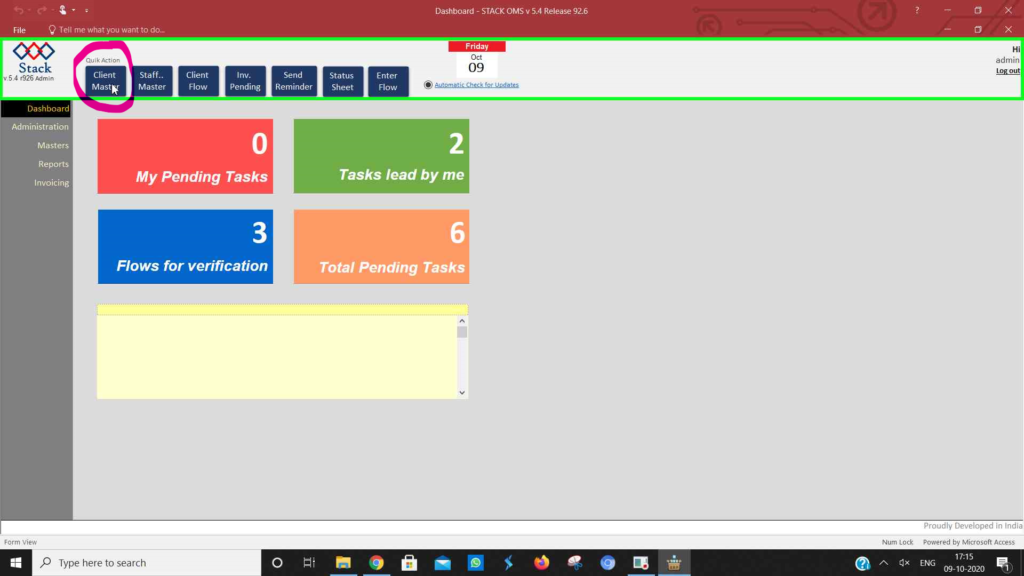
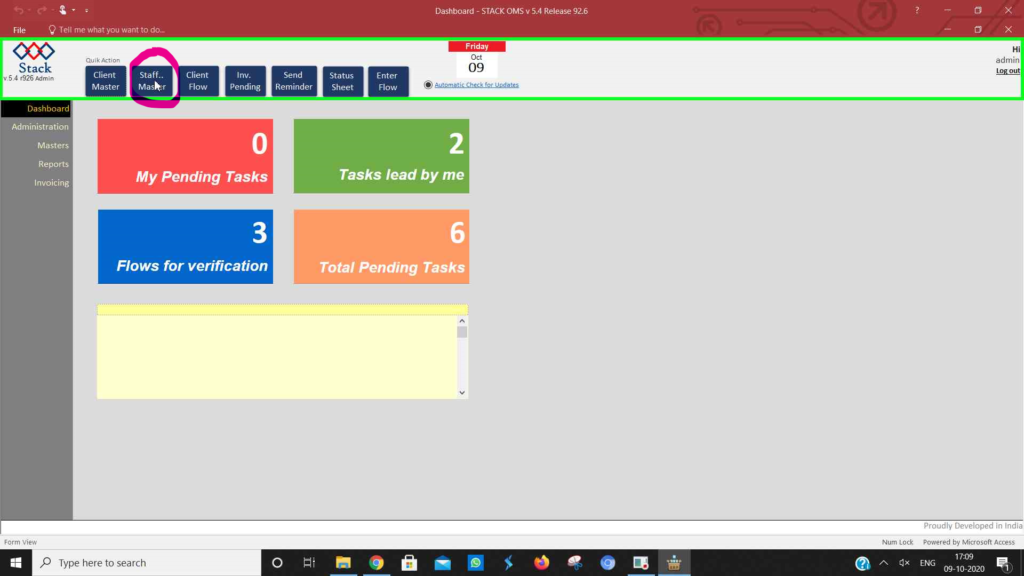
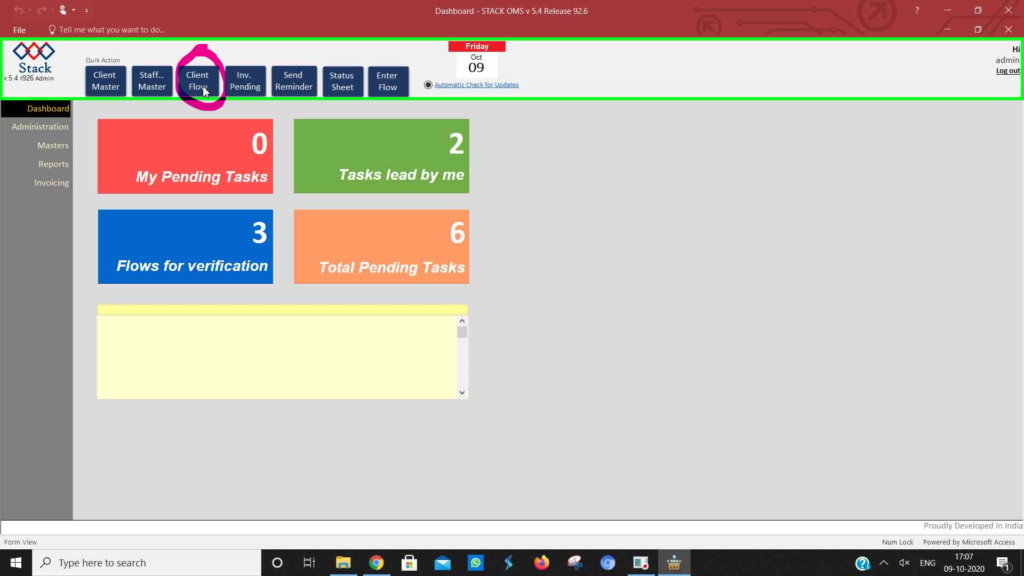
- Go to Stack -> Quick Action bar -> Staff and Member Master.

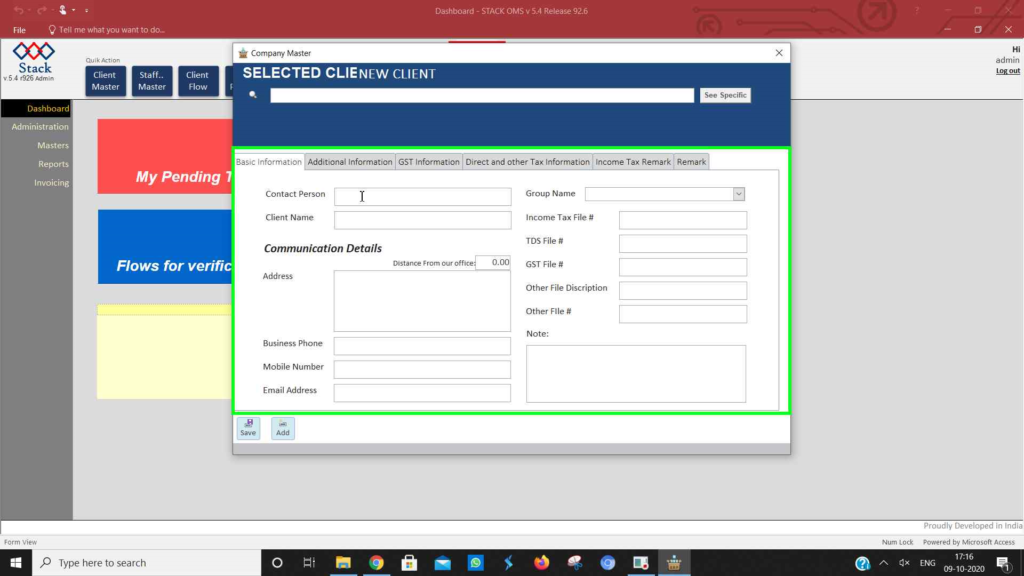
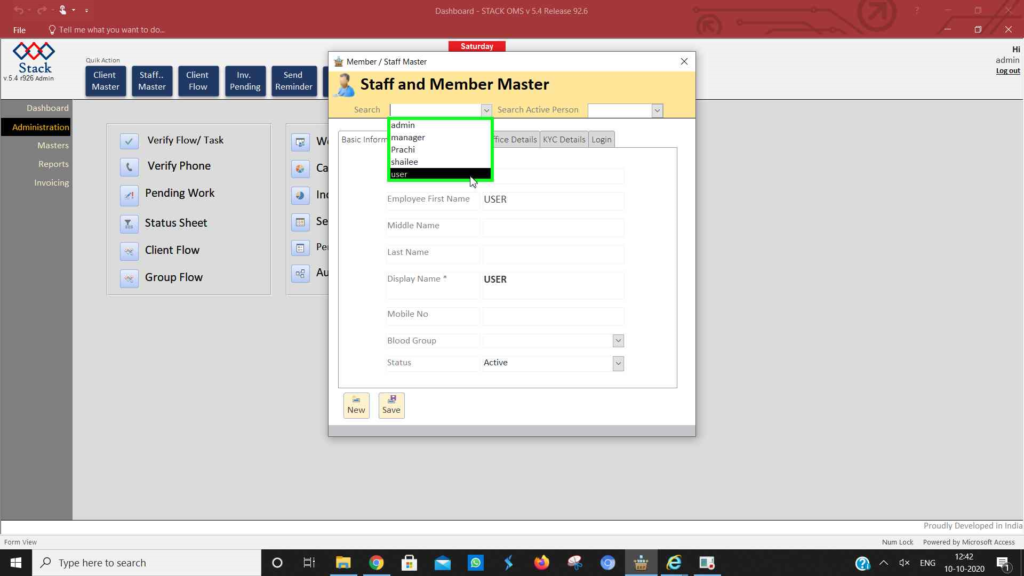
- Click on “New” to add new Staff / Member.
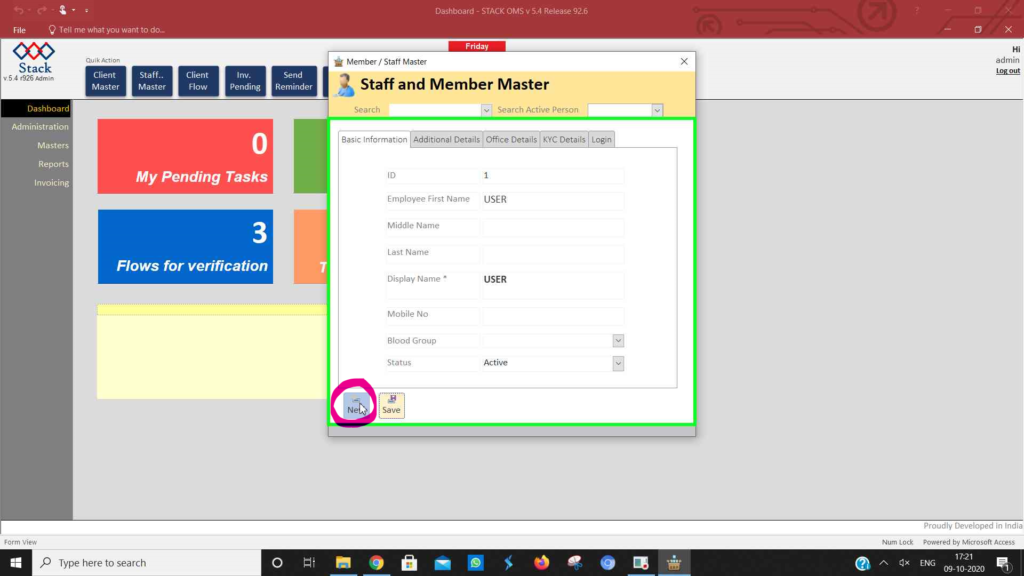
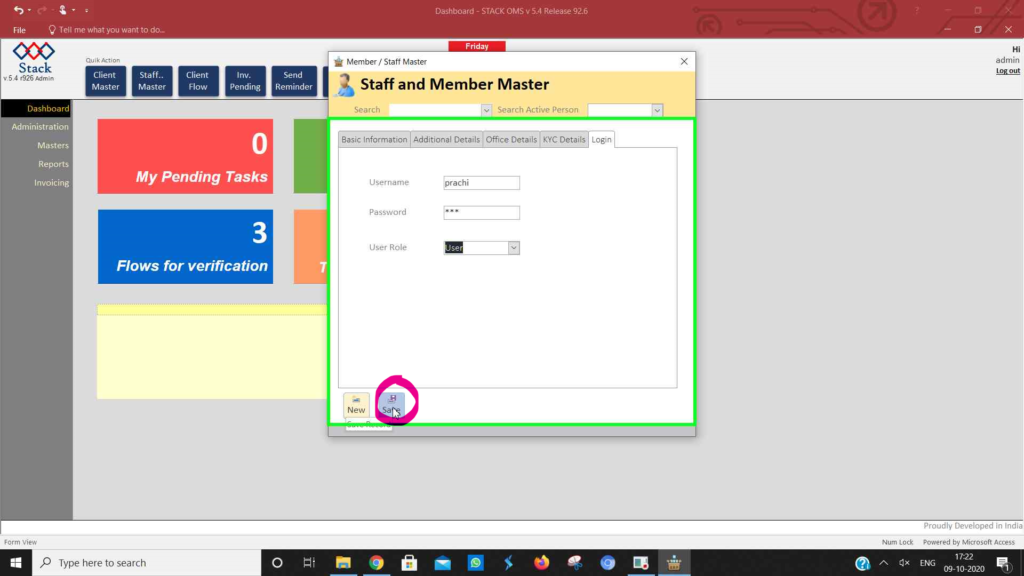
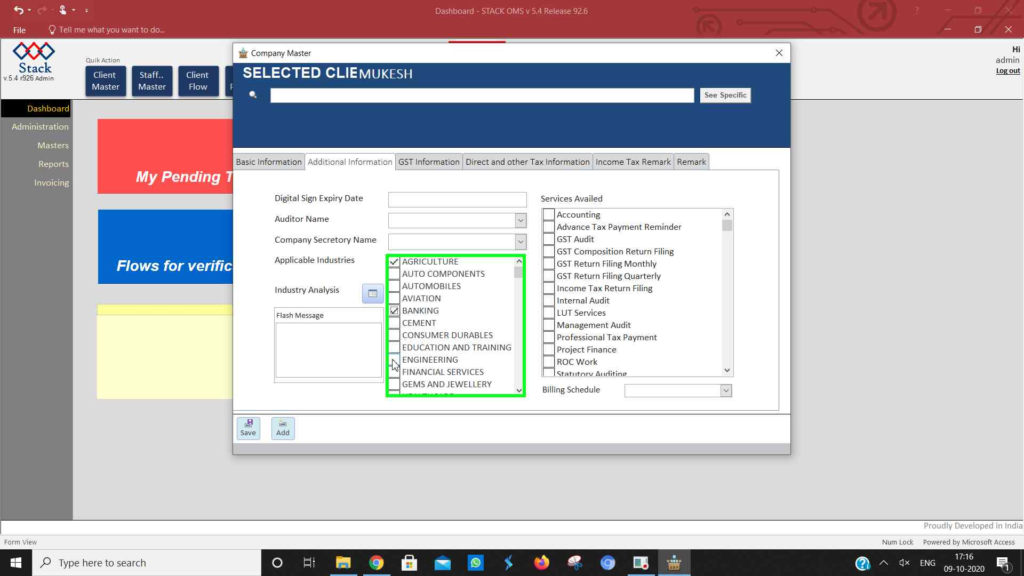
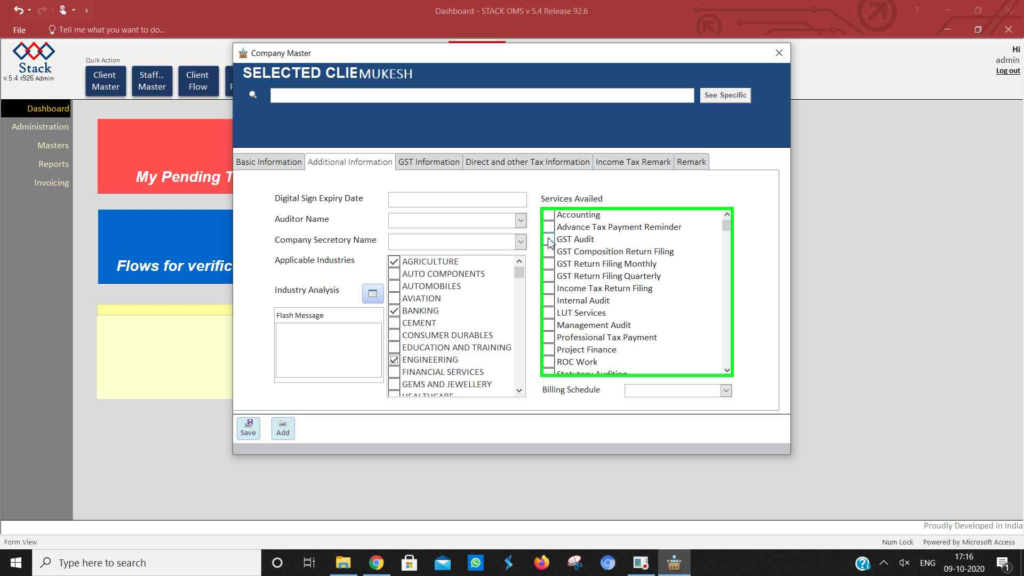
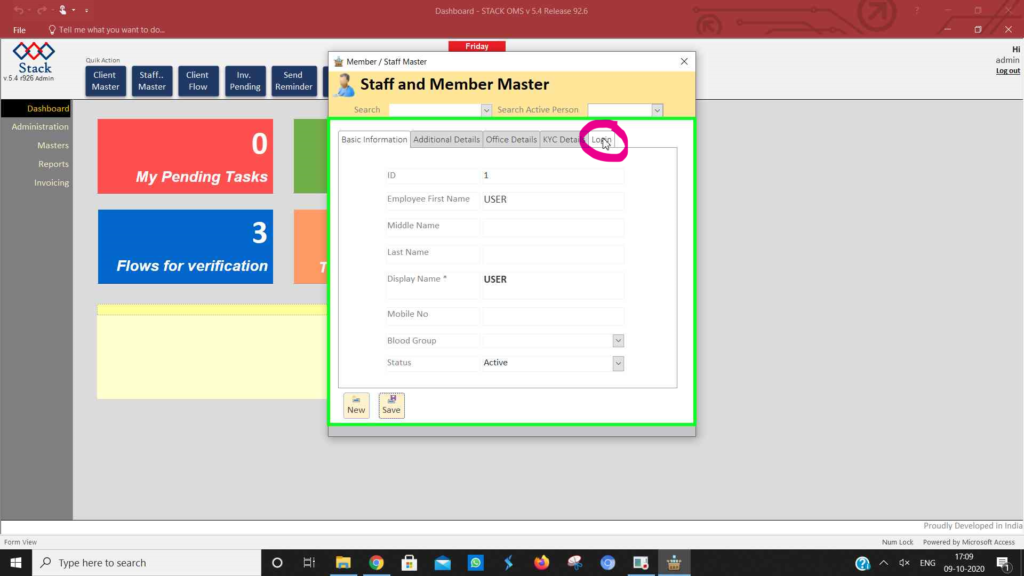
- Add the basic information such as employee name, mobile no, blood group, etc. , additional details, office details, KYC details and the login details. The login details includes the user name, password and the role of the user.

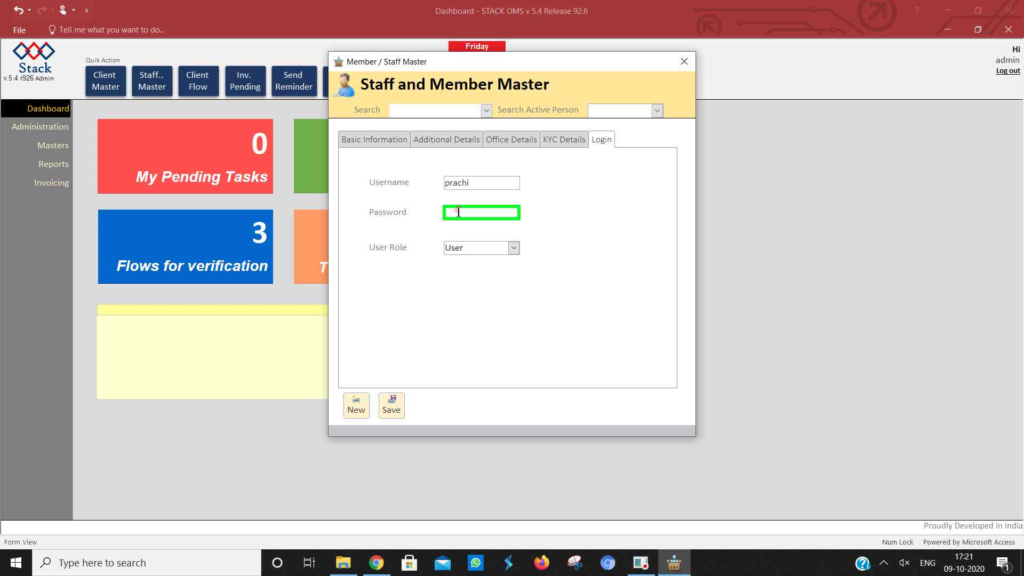
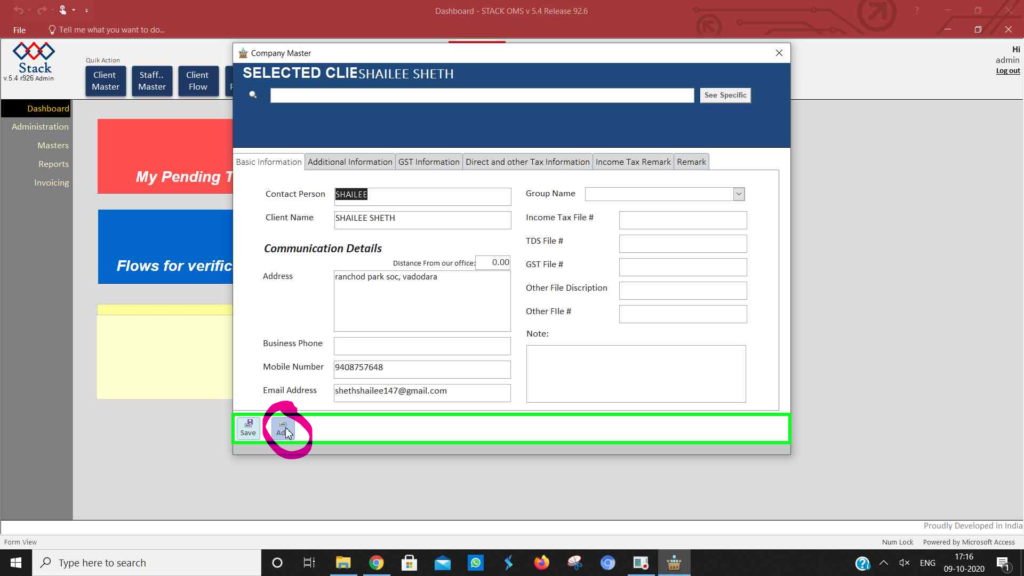
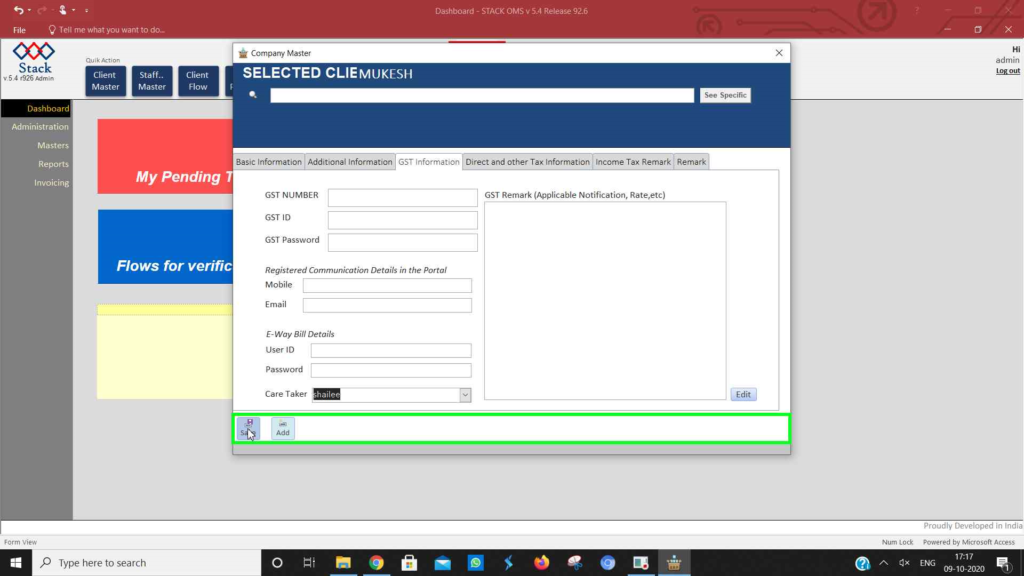
- Click on “Save” and it’s done.